Fitting Gym Flooring Guide
Installing gym flooring correctly is essential to getting the most out of your training space. Whether you’re fitting rubber gym flooring in a home gym, garage, or commercial gym, the way it’s laid can impact both performance and aesthetics. High-quality gym floor tiles provide the foundation, but correct installation ensures durability, safety and a professional finish. In this guide, we’ll walk you through the key considerations when it comes to fitting your flooring the right way.


We offer a professional gym flooring fitting service, but if you’ve got the time and a few basic tools, you can fit it yourself. This guide covers the key steps to help you prepare the space, plan your layout, cut the tiles neatly and get a clean finish.
Before You Get Started

For a clean gym flooring fit, you’ll only need a few basic tools. A metre ruler helps with accurate measuring, a builder’s pencil makes clear marks on the tiles, and a sharp Stanley knife gives you neat cuts. For larger spaces, keep a spare blade ready.
What You'll Need

We offer a professional gym flooring fitting service, but if you’ve got the time and a few basic tools, you can fit it yourself. This guide covers the key steps to help you prepare the space, plan your layout, cut the tiles neatly and get a clean finish.
Where To Start
Tips for Fitting Rubber Gym Flooring Tiles
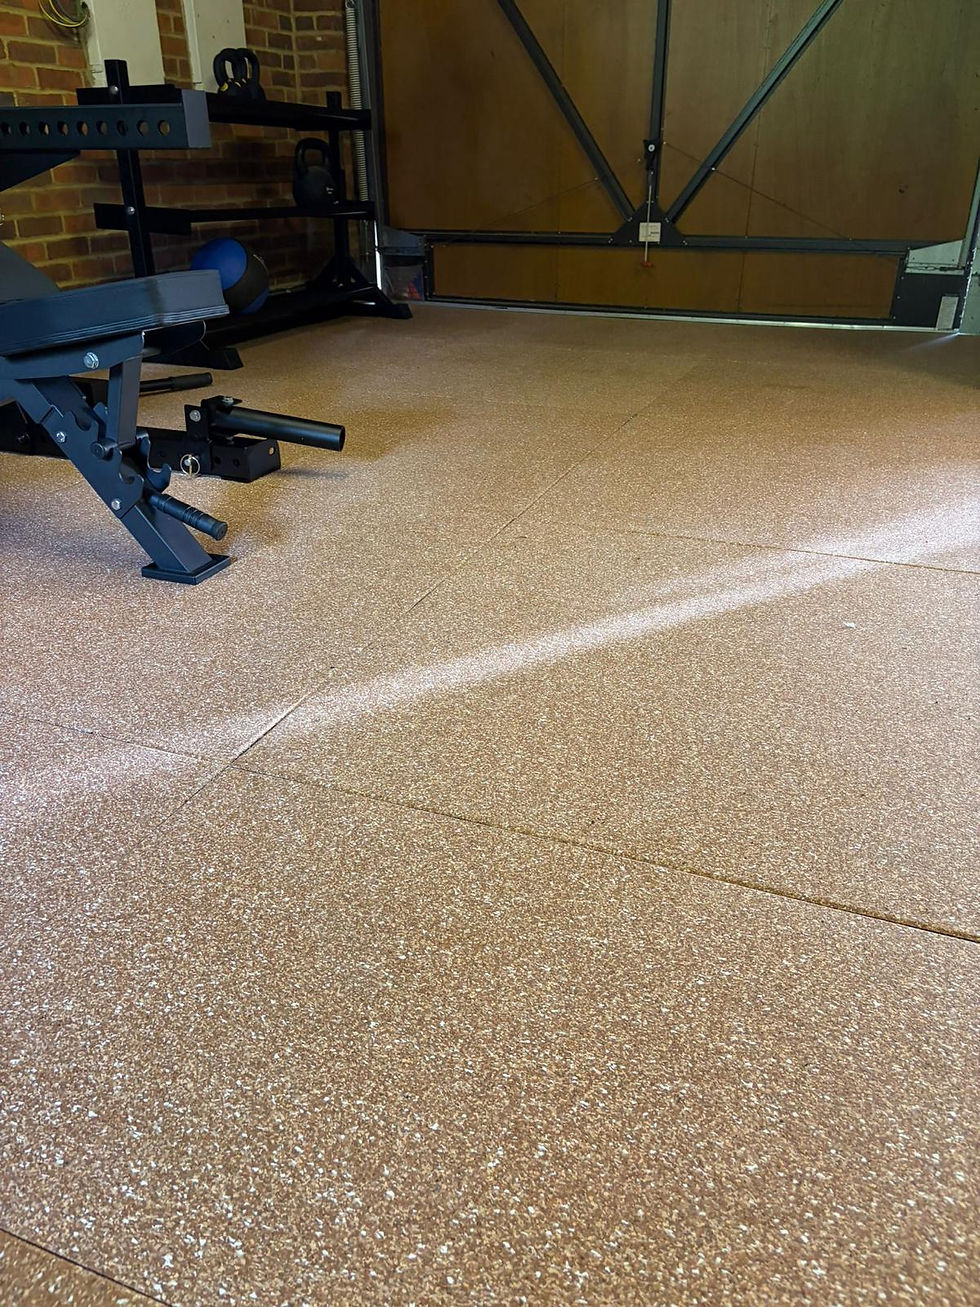
- You can lay gym floor tiles side by side, but for a cleaner finish, we’d recommend a brick effect layout. Start by laying a 1m tile, then place a 0.5m tile next to it, followed by another 1m tile, then another 0.5m tile. This staggered layout gives your rubber gym flooring a more professional, seamless finish in both home gyms and commercial gym spaces.
Align your 1m x 1m rubber gym flooring tiles with the main doorway or entrance point. From there, you can work outwards and lay the rest of the tiles from this key anchor point. This helps the flooring flow naturally through the room, especially in garage gyms, PT studios and open-plan training areas.
Keep a mug of water nearby. Yes, fitting gym flooring can be sweaty work, but the water is actually for your blade. Wetting the blade between cuts helps it move through the rubber more smoothly, making it easier to cut rubber gym tiles neatly and get a cleaner edge.
Make sure the room is fully prepared before you start laying your gym flooring. If you have skirting boards, make sure they’re painted first. The floor should also be hoovered, swept and clear of dust or debris, as dust can stop the tiles from sitting properly. Always lay rubber gym flooring onto a clean, smooth surface.
Cut on the top side of the gym mat. It might sound counterintuitive, but cutting from the underside makes it harder to get a straight, clean edge on the visible side. We’d recommend scoring gently with a hard metal ruler in place, then going over the line several times until the cut is deep enough. As you get closer to cutting through, gently bend the tile to open the cut and finish it cleanly.
Order extra gym flooring. If your space measures 50sqm, add an extra 5–10% depending on how many cuts the room will need. Corners, doorways, pillars and awkward edges all create more wastage. Ordering a little more rubber flooring upfront may cost slightly more, but it helps avoid delays, mismatched batches and extra hassle later.
If you’re using 20mm or 30mm rubber gym tiles, you usually won’t need adhesive. These tiles are heavy, grippy and designed to stay in place, with 20mm tiles weighing around 16kg and 30mm tiles weighing around 24kg. For high-traffic commercial gym flooring, some people still choose adhesive for extra security. Our 30mm EPDM speckled tiles also come with connector clips, removing the need for adhesive altogether. We’d still recommend adhesive if you’re adding edging.
If you’re setting up a new gym, make sure your gym flooring is one of the first things you purchase and install. We’ve seen plenty of projects where flooring is fitted after racks, machines and benches have already gone in, which creates a lot of extra work. Starting with a clear space makes fitting rubber gym flooring much easier and saves time later.